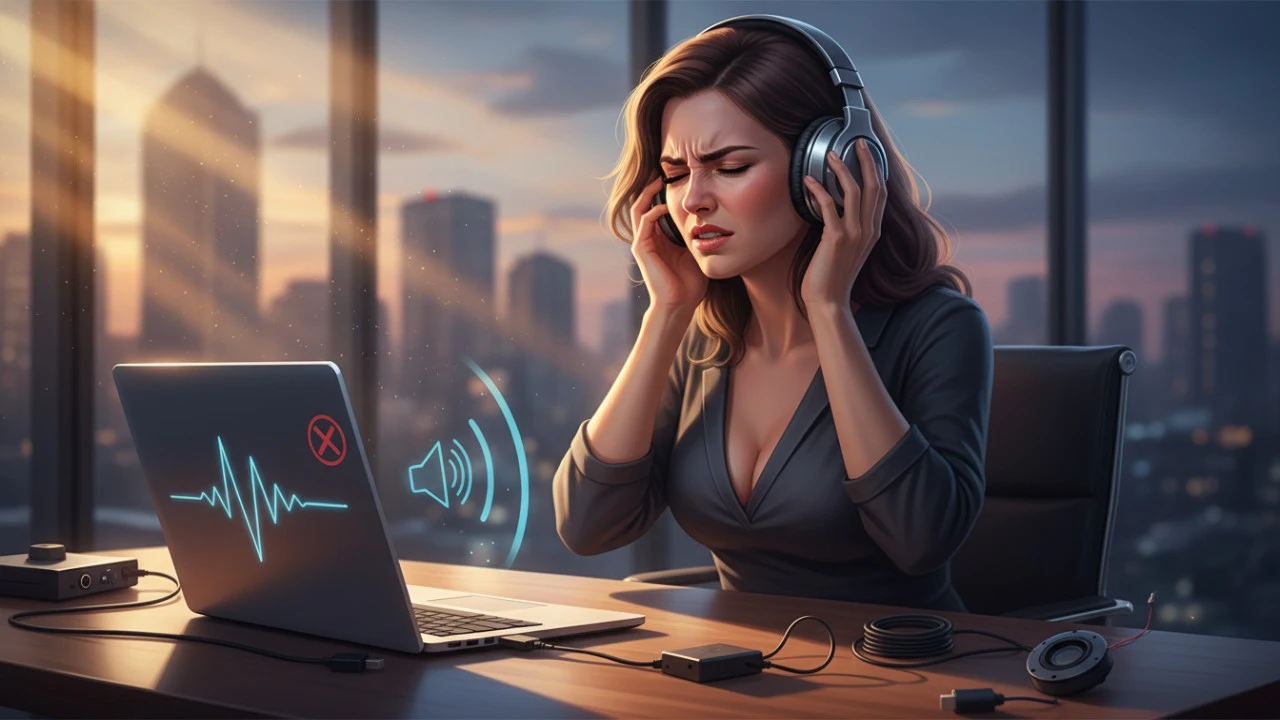
You finally sit down at your desk to edit the video for your latest tech blog post, or maybe you are just booting up a new game after a long week. You hit play, and immediately wince. Instead of crisp dialogue and heavy bass, the audio sounds like it is being broadcast through a wet tin can.
It is incredibly frustrating. We spend a premium on modern laptops, expecting a flawless multimedia experience. Yet, outside of a few top tier Apple machines, a surprising number of manufacturers treat internal speakers and headphone jacks as complete afterthoughts.
But before you give up and permanently glue a pair of Bluetooth headphones to your skull, you need to look at your operating system. More often than not, bad laptop audio is a software bottleneck, not a blown speaker. Whether you are working from a home office in Toronto or editing content in a London flat, dealing with distorted, muffled, or painfully quiet sound completely ruins your workflow.
Here is exactly how to diagnose and fix laptop audio quality issues, starting with the most common hidden culprits.
The “Audio Enhancements” Trap
If you are using a Windows machine, this is the absolute first place you need to look.
Windows 11 has a notorious habit of aggressively applying default “Audio Enhancements” to your speaker output. In theory, Microsoft and hardware vendors like Realtek designed these digital filters to make cheap, tiny laptop speakers sound fuller. In reality, they usually just aggressively compress the dynamic range. This makes quiet sounds artificially loud, completely muddies the bass, and introduces a weird, hollow echoing effect.
How to turn it off:
-
Open your Windows Settings and go to System > Sound.
-
Scroll down and click on More sound settings (this opens the classic control panel).
-
Right click on your default speakers and select Properties.
-
Look for a tab labeled Enhancements.
-
Check the box that says Disable all enhancements, hit Apply, and restart your audio playback.
Nine times out of ten, disabling these artificial filters instantly restores clarity to your audio.
The Sample Rate Mismatch
If your audio sounds perfectly fine one minute, but suddenly becomes crackly, robotic, or out of sync when you open a heavy application like a video editor or a high end game, you are likely dealing with a sample rate mismatch.
Your laptop’s sound card processes audio at a specific frequency usually 44.1 kHz (CD quality) or 48 kHz (DVD quality). If an application tries to force the sound card to rapidly switch between these rates, the audio engine glitches out, resulting in a harsh, popping static.
The Fix:
-
On Mac: Open the Audio MIDI Setup app (you can find it via Spotlight search). Find your built in output, and manually lock the Format drop down to 48,000 Hz (48 kHz).
-
On Windows: Go back to your Speaker Properties (the same menu from the previous step). Click on the Advanced tab. In the drop down menu, select 16 bit, 48000 Hz (DVD Quality) or 24 bit, 48000 Hz (Studio Quality). Uncheck the box that says “Allow applications to take exclusive control of this device” to stop background apps from hijacking the sample rate.
The Driver Dilemma
Sometimes, the operating system simply forgets how to talk to the physical sound card. This happens constantly after massive OS updates. A corrupted audio driver will cause everything from random volume drops to total silence.
If you are on a Mac, audio drivers are baked directly into macOS updates. Your only real troubleshooting step here is to restart the Core Audio process. Open your Terminal app, type sudo killall coreaudiod, hit enter, and type in your password. This forces the Mac’s audio engine to restart from scratch without rebooting the whole computer.
If you are on a PC, you need to manually intervene with the Device Manager.
-
Right click the Start button and open Device Manager.
-
Expand the Sound, video and game controllers section.
-
Right click your primary audio driver (usually Realtek High Definition Audio).
-
Do not just hit “Update.” Instead, hit Uninstall device.
-
Restart your laptop. When Windows boots back up, it will realize the driver is missing and automatically pull the cleanest, most stable version from the internet to reinstall it.
Physical Obstructions (The Down Firing Problem)
If you have tried all the software tweaks and your audio still sounds muffled, you need to look at the physical chassis of your laptop.
A massive chunk of modern ultra thin laptops use “down firing” speakers. The speaker grilles are actually located on the bottom of the laptop, resting right against your desk. They are designed to bounce the sound waves off a hard, flat surface and up toward your ears.
If you are using your laptop on a bed, resting it on a soft couch cushion, or even using a thick, padded desk mat, you are physically smothering the sound waves. The fabric absorbs the higher frequencies, leaving you with nothing but muddy, muffled audio. Move the laptop to a solid wooden or glass surface, or prop the back edge up on a laptop stand to give the speakers room to actually push the air.
Software tweaks and physical positioning will solve the vast majority of your audio headaches. But if you have done all of this and the audio is still unacceptable, the internal sound card might just be inherently cheap. At that point, your best bet is abandoning the internal hardware entirely and picking up a dedicated USB audio interface.